
The new Junior Cycle Science course is much broader than the old exam. It’s probably one of the most interesting and useful Junior Cycle subjects as it contains a wide range of different topics, from learning about the solar system to sustainability to microorganisms, there’s never a dull moment. There are a few experiments on the course also which means a lot of practical, hands-on work in the laboratory. The lack of structure to the paper can put some students off but the paper is very doable. In this guide, I’m going to be sharing a few tips that I wish I had been told at the start of 1st year.
Guide
How to get a Distinction in Junior Cycle Science
 By Eva Cody - 20 minute read
Eva was a top student in her science class and in this guide, she shares some advice that she believes will help you achieve a distinction in Junior Cycle Science.
Jump to:
Show all sections
Introduction

General information
Junior Cycle Science is graded out of 400 marks:
The written exam is worth 360 marks (90%).
The Assessment Task is worth 40 marks (10%).
The course is also marked differently from the old course wherein grade descriptors have replaced letter grades:
| Grade descriptor | Percentage |
| Distinction | ≥ 90 to 100 |
| Higher Merit | ≥ 75 and < 90 |
| Merit | ≥ 55 and < 75 |
| Achieved | ≥ 40 and < 55 |
| Partially Achieved | ≥ 20 and < 40 |
| Not Graded (NG) | ≥ 0 and < 20 |

Classroom-Based Assessments
There are 2 Classroom-Based Assessments (CBAs) in the course. Your CBA results are released in your JCPA in a special ceremony in January of Transition Year and your work will be awarded one of the following descriptors:
Exceptional
Above expectations
In line with expectations
Yet to meet expectations

CBA 1
Extended Experimental Investigation (EEI)
This is a written assessment submitted at the end of 2nd year. Even though the results of CBA 1 will not go towards your final grade, it’s a chance to develop your practical skills as a scientist and achieving an 'exceptional' will get your Junior Cycle off to a great start.
You can choose any topic to research and experiment on and don't worry, you don’t need to invent a new antibiotic or discover a new element to get an 'exceptional' grade. For example, my research question was, 'How does the number of layers around an object affect its temperature?' because I really enjoyed the chapter on heat energy that we studied in 1st year. I cannot stress enough the importance of picking a topic that you have a genuine interest in as you’ll be spending a great deal of your time working on it. It could be a chapter from 1st or 2nd year that you particularly enjoyed or an area of science that you’ve always had an interest in. Here is some more advice for approaching this CBA:
Research
Spending a few days researching your topic online or in books will mean that by the end of it, you’ll have a pretty good understanding of how your experiment might turn out. You can then write a sensible hypothesis which is a sentence predicting the general outcome of your experiment.
Practice makes perfect
My teacher got each of us to do a trial run where we tested out our experiment. When things went wrong, we had time to tweak and perfect our method before the actual day. If time allows, you can carry out your experiment more than once. You can then find the average of your data which will make your results a lot more accurate.
Writing a conclusion
Now that you have a set of results, you can analyse your data. If your data is numerical, a graph or bar chart is a great visual representation of your results. Taking a step back, try and understand what the data means in relation to the variables. For example, my graph was a line straight through the origin which told me that the two variables were directly proportional. Can your set of results support your hypothesis? If your hypothesis is wrong, it doesn’t necessarily mean that you’ll lose marks, in fact, science is all about trial and error and learning new things.
Reflection
The final step is to reflect on your experiment as a whole so think about things that went well and what could have gone better. What advice would you give to a younger student completing the same experiment? Recognising your mistakes and suggesting improvements does not weaken your work but strengthens your project. It’s a sign of a good scientist who has reflected truthfully on their work.
Presentation
Your attention to detail will make your project stand out from others. It’s the little things like an organised layout, clear diagrams and good spelling that will make all the difference when it comes to your write-up. If your project has a clear structure (like a table of contents, an introduction and a conclusion) it will make it ten times easier to read and it will look a lot more professional.
Be organised
Make the most of your class time. Three weeks seems like ages but you'll be surprised by how quickly the time seems to run away from you once you get started. I found keeping all of my CBA work in one place saved me a lot of hassle when it came to writing up the final project. You could start a new copybook for your CBA work as I did and keep all your sheets and findings in a special folder, separate from your other science work.
Top tip
It’s worth glancing over the Features of Quality because this is what your teacher will use when grading your CBA work. I printed it out and used it as a checklist, crossing each task out from the list as I went along. If you can tick off each 'feature', you are well on your way to an 'exceptional' grade.

CBA 2
Science in Society Investigation (SSI)
CBA 2 is a written assignment completed around Christmas time in 3rd year. It gives you an opportunity to research an area of controversy in science that you would like to learn more about and it is a project in which you put your research skills and critical thinking to good use. As with CBA 1, there are Features of Quality there to guide you so make good use of them. Here is some more advice for approaching this CBA:
Pick a topic you're interested in
Try and find a research topic that you are actually passionate about because it will make the entire project more fun. For example, I chose to research the impact of hydropower on society because I love all things to do with physics.
Your research question
You’ll need to come up with a research question, one that has more than one obvious answer. For example, if you choose to research space exploration, the question, 'What are the hazards of space travel?' wouldn't be suitable as it doesn't spark any kind of debate. You could rewrite it as, 'Do the hazards of space travel outweigh the benefits?'.
Research
Besides online research, try scanning newspapers and library books, watching documentaries or interviewing an expert on your topic. It’s okay to copy quotes from professionals or famous people word for word in quotation marks but you should never copy and paste random sentences from the internet as firstly, this is a form of plagiarism (stealing someone else’s work and passing it off as your own) and secondly, it’s much better to skim the whole document and only use the information that is actually relevant to your research question. There's so much information out there that it takes a bit of time to sift through what's important and what's not.
Bibliography
It’s important to record your sources in one place (such as a Word document) where you note the title of the document, the author and the date you last visited the website. Part of this project is learning how to evaluate the reliability of the sources you use. I recommend writing a paragraph on each source and considering the date a document was created (e.g. a scientific newspaper article written last year will be much more accurate than one from 10 years ago), the author and the language used. Do this as you go along and you’ll thank yourself later.
Presenting your findings
You can present your findings in any form that you’d like. Having an introduction, the main body of your project followed by a conclusion and a bibliography should be the bare minimum. I wrote my project in an essay style but I broke up long chunks of text into paragraphs and used subtitles to make it easier to read. To give your assignment a personal touch, I would include your reasons for picking your research question in your introduction along with your initial view on the issue. In your conclusion, outline your final outlook on the research question, ideally using evidence from your work to support your argument.
Look at both sides of the argument
It’s important that you use discursive writing in your project. This means that you explore both sides of the argument without being biased. In other words, stay neutral. You can't just pick one side to research, you need to look at the argument from both sides. This project channels many of the skills you have learned in English such as discursive writing, debating, paragraphs and critical thinking, all of which should be second nature to you by Christmas of 3rd year.
Top tip
Over the course of the three weeks, I used to spend 30-40 minutes each day after my homework on my CBA work (on top of class time). If you set aside some time each day to work on your project, you’ll fly through it.

The Assessment Task
The Assessment Task is a written report on your CBA 2 that takes place in February of 3rd year. You will spend about an hour and a half answering questions about your project work. It’s a chance to show off what you have learned when completing your CBA 2. Here's some helpful information and advice for approaching the Assessment Task:
What to expect
You'll be given the questions a day before the Assessment Task, along with the stimulus material (the document, article, graph or visual image that you respond to). The types of questions that you will be asked can vary each year but usually, they relate to the different type of sources that you have come across.
Be prepared
You are allowed to bring in your CBA 2 work and notes to the Assessment Task write-up. I recommend having a rough plan of how you will answer each one and jotting down a few bullet points for each answer on a mind map. Remember, failing to prepare is preparing to fail.
Show off different sources
Try to refer to a mix of sources to show the different types you used in your research. For example, I referenced a book I used in question one of my Assessment Task and for the second, I wrote about a newspaper article that I used. In the next question, I talked about a documentary that I watched to switch things up.
Be concise
You only have a small box for each of your responses so keep your answers short and concise. When you see a question on a certain topic, it's tempting to write down everything that you have ever learned about said topic but if you haven't answered the question asked, you won't be able to get any marks. Look at it from the examiner's point of view: they have hundreds of papers to correct and they just want the facts so cut straight to the chase.
Use the allocated space wisely
Don’t underestimate the importance of presentation. Writing slightly smaller will also make a world of difference as it means you can make the most of your allocated writing space, getting in as much information as possible.
Remember
The examiner who corrects your Assessment Task will not see your CBA 2 work. This is why it’s so important to showcase what you have learned from your project in your answers. You’ve worked hard on your CBA 2 so make sure you do it justice in the Assessment Task.

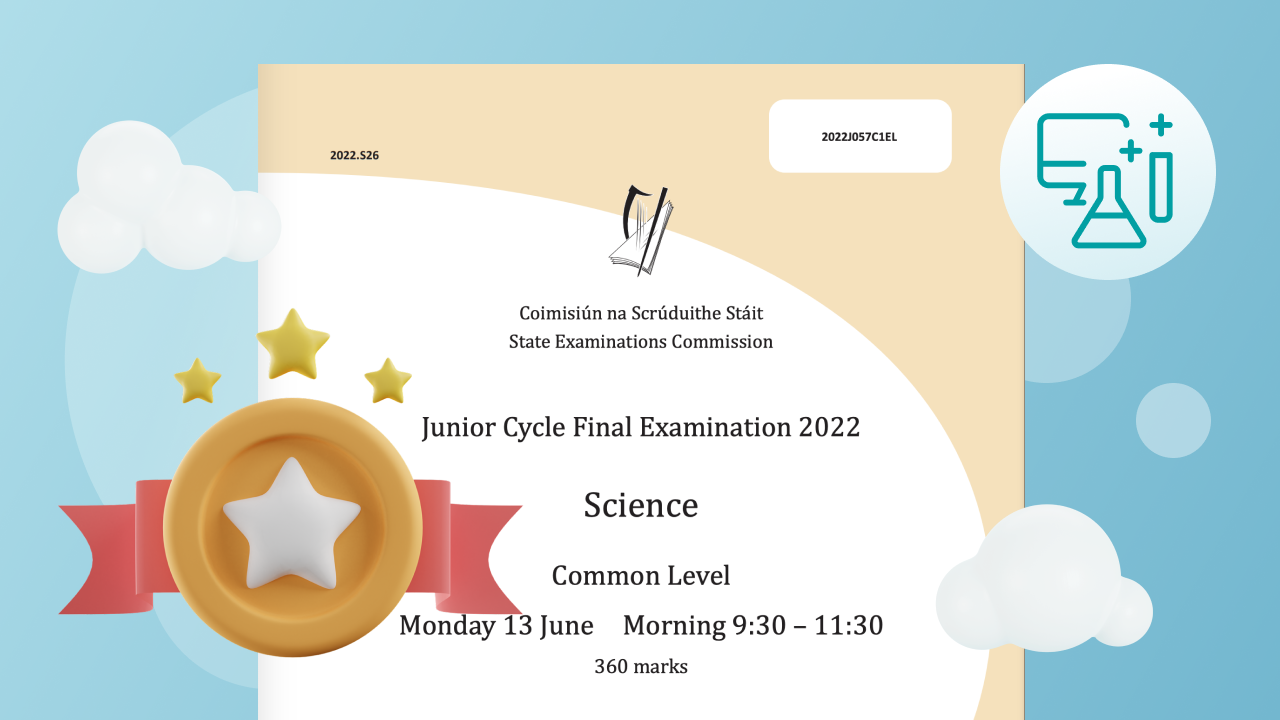
The written exam
The written examination takes place at the end of 3rd year and lasts for 2 hours. It is worth 90% of your grade (360 marks) and has no set structure or topics. Instead, it will have multi-part questions divided into two sections (A and B).
As there were no set questions in the exam, I revised for it by going through my textbook, covering one chapter at a time rather than revising for specific questions. After all, if you have a good knowledge of each of the topics on the course, you will be able to answer any question that comes up. Later in this guide, I will share with you some study techniques that I found particularly useful.
Remember
Since your paper will be scanned on a computer, you must write in blue or black ink. Diagrams, however, will be accepted in pencil.
Experiments
A lot of students worry about whether they should know all of the experiments for the exam. Here’s my take on it:
Keep a record
By the end of 3rd year, you will have carried out loads of investigations in class. Hopefully, you will have some record of each of these experiments written up in a notebook or copy. There are over 50 experiments in the Junior Cycle course and it's recommended that you know the method and conclusion for each (and be able to draw a labelled diagram of the apparatus).
Use your time wisely
In my science exam, I made a ton of flashcards and mind maps, spending countless hours memorising these and drawing out diagrams again and again until I knew each one inside out. However, on the day of my exam, we had to write about only one experiment which was finding the boiling point of water. From personal experience, my advice is this: instead of rote learning every single experiment, maybe just glance over them the day before your exam or pick 10 important ones to remember. However, it would be great if you knew all of them as experiments will help you in all aspects of the exam.
Revision tips
There were three main parts to my revision for the science exam and I'm going to share them with you:

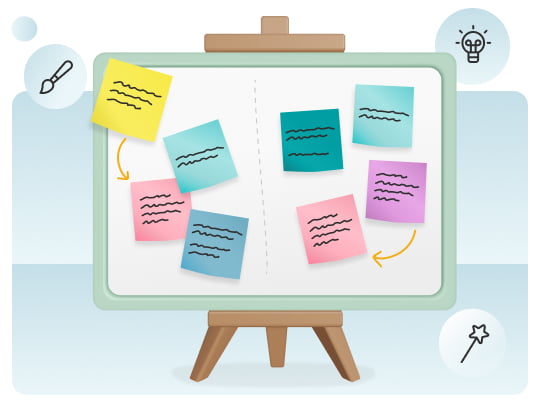
Flashcards
A lot of people ask me how I managed to memorise all the information for the exam and the answer is flashcards. They are great because when it comes to revising a certain topic, you can simply pull out a pack of flashcards and get going. You can take your revision with you wherever you go such as in the car, on the bus, to school or the library.
There are so many different ways to make flashcards, like buying a pack from a stationery shop and doing it the old-fashioned way or using the ready-made Studyclix Science Flashcards. Here are some tips on the topic:
Flashcards
1
2
3
4
5
Make them as you go
Choose the format that you think will suit you best and stick to it. I wrote a set of flashcards after each class, summarising what we had just learned. I kept them organised in a specific place, in order of chapter. As a result, at the end of 3rd year, I had all of my study notes in one place and I could avoid the frantic frenzy of trying to write out three years’ worth of study notes in the weeks leading up to my exam.
1
The fewer words the better
Try and summarise the content so that there are as few words as possible on each flashcard. I replaced words with pictures and symbols, e.g. instead of writing out the words for 'oxygen and hydrogen make water', I wrote 'O + H = H2O'. If you write out your entire book on your flashcards, there's not much point making flashcards in the first place.
2
Get creative
The goal is to make your flashcards as visually appealing and engaging as possible so use different coloured pens and highlighters because the human brain responds better to colour than it does to black and white. You can even use pictures instead of words if you are a visual learner like me. You can make them more exciting by writing out flashcards where you need to fill in the blanks, label diagrams (the human heart for example), recite formulas, memorise chemical equations or even have a question on the front and answer on the back.
3
Revisit your notes
When you have learned one topic, make sure to come back to it again to test yourself (e.g. doing a quick recap a day or two later) so that the information really sticks and stays in your long-term memory. Revisiting content the next day, a week and a month later helped me remember what I had learned for the exam hall, instead of getting a 'blank'.
Mnemonics
Mnemonics are another handy way of memorising important words or phrases (e.g. the planets, 'My Very Educated Mother Just Served Us Noodles') and you can even make up your own. For example, when I was learning the features of living things in biology, I wrote MRS GREN on one side of a flashcard and on the other what each letter stood for: Movement, Respiration, Sensitivity, Growth, Reproduction, Excretion, Nutrition.
Using flashcards
in your revision.
Make them as you go
Choose the format that you think will suit you best and stick to it. I wrote a set of flashcards after each class, summarising what we had just learned. I kept them organised in a specific place, in order of chapter. As a result, at the end of 3rd year, I had all of my study notes in one place and I could avoid the frantic frenzy of trying to write out three years’ worth of study notes in the weeks leading up to my exam.
The fewer words the better
Try and summarise the content so that there are as few words as possible on each flashcard. I replaced words with pictures and symbols, e.g. instead of writing out the words for 'oxygen and hydrogen make water', I wrote 'O + H = H2O'. If you write out your entire book on your flashcards, there's not much point making flashcards in the first place.
Get creative
The goal is to make your flashcards as visually appealing and engaging as possible so use different coloured pens and highlighters because the human brain responds better to colour than it does to black and white. You can even use pictures instead of words if you are a visual learner like me. You can make them more exciting by writing out flashcards where you need to fill in the blanks, label diagrams (the human heart for example), recite formulas, memorise chemical equations or even have a question on the front and answer on the back.
Revisit your notes
When you have learned one topic, make sure to come back to it again to test yourself (e.g. doing a quick recap a day or two later) so that the information really sticks and stays in your long-term memory. Revisiting content the next day, a week and a month later helped me remember what I had learned for the exam hall, instead of getting a 'blank'.
Mnemonics
Mnemonics are another handy way of memorising important words or phrases (e.g. the planets, 'My Very Educated Mother Just Served Us Noodles') and you can even make up your own. For example, when I was learning the features of living things in biology, I wrote MRS GREN on one side of a flashcard and on the other what each letter stood for: Movement, Respiration, Sensitivity, Growth, Reproduction, Excretion, Nutrition.
Hope these help!

Top tip
It's worth taking a pack of flashcards with you on the car journey to the exam to look over. There's something about calmly reading through the information I already learned that really settled my nerves, reminding me that I knew more than I thought I did.

Blurting
If flashcards aren't for you then blurting is the way to go. This is a revision technique that is based on the idea of active recall (a.k.a. actually using your brain) which is possibly the most effective way of revising. Here's some more information:
Getting started
To revise a topic by 'blurting', you first pick a chapter to revise and write down the name of it in the middle of a piece of scrap paper. You then jot down a couple of subheadings around it, for example, if I were revising the chapter on the circulatory system, I would write that in the centre of the page with some subheadings like 'functions of blood', 'components of blood' and 'types of blood vessels' around the page. Then, you close your book and set a timer (for ten minutes or so) and write down all you can remember about that topic under each of the headings including diagrams, experiments, etc.
Check your answers
Once the time is up, go back to your book and check your answers. It's a good idea to correct yourself where you went wrong and add in the points you missed with a different coloured pen. If you need to, go back through your flashcards to jog your memory. Repeat this technique again and again until you feel confident enough to move on.
Top tip
This is a great way to see what you actually know. It helps avoid the trap of passive revision, i.e. revising by reading the textbook, highlighting keywords and writing out your study notes again and again. It's also a good way to recap a chapter that you have previously revised to check your progress.

Practice questions
Unfortunately, when it comes to science, rote learning a ton of flashcards simply isn't enough on its own to secure top marks. As well as learning the information, it's important to learn how to apply your knowledge.
Practice questions can be taken from past examinations, sample papers, questions at the end of the chapter in your book or even past class tests. The important thing is that you close your book and test yourself. You don't even need to buy past papers in-store as Studyclix have them all online, organised by subject, year and topic (along with the corresponding marking schemes). Here are a few more tips on practice questions:
Correct your answers
It's really important to correct your answers because you can track your
progress and see what questions or topics you need to work on. It's well worth taking the time to write a couple of bullet points under the heading 'what I have learned' with the corrections that you made.Test yourself under exam conditions
In the weeks leading up to your exam, try and get through as many past papers as you can under exam conditions. Put your study notes away, set a 2-hour timer on your watch and when you are done, mark the paper out of 360 marks. By the time your exam rolls around in June, sitting down in the exam hall and doing the exam shouldn't faze you in the slightest, in fact, it should feel just like doing another practice paper.

Final tips
Final Tips
1
2
3
4
5
6
7
8
Timing
The written examination is 2 hours long so you have plenty of time to complete the paper. I recommend spending 2 or 3 minutes skimming through the paper at the beginning to give you an idea of what questions are coming up. Then, work through the questions as quickly and as carefully as you can. Ideally, you should have 10-15 minutes left over to check over your answers. Remember, slow and steady wins the race.
1
Be prepared
Make sure you get organised the night before your exam by packing your pencil case with pens, pencils, a ruler, a calculator and some colouring pencils. Formulae and table booklets will be handed out at the beginning of the exam.
2
Answering questions
Answer all of the straightforward questions that you know the answer to first (tick the box questions, labelling diagrams, etc.) and leave the trickier ones for later on. If you dwell too long on one tricky question, it might mean that you neglect the others. After completing all the simpler questions, go back to the beginning and finish the ones you missed.
3
Leave no question blank
The only way you will get 0 marks for a question is if you leave it blank so make sure to attempt every question. Even if you haven’t a clue what the answer is, you might be awarded marks for giving it a go.
4
Use your additional time wisely
You only have one shot at your science exam so you may as well get the most out of those 120 minutes. Read over your questions and answers carefully and make sure that you haven’t missed any parts and have answered each question to the best of your ability. It’s also worth double-checking that you haven’t made any silly mistakes or spelling errors to maximise your marks.
5
Answer the question asked
Make sure that your answers are concise and always answer the question asked in the first sentence of your answer. It’s worth bringing in a marker to circle or underline the keywords in each question such as 'show', 'define' and 'justify'. Even if you feel like this doesn’t help you, underlining these words will show the examiner that you have focused on the question asked.
6
Answer length
The recommended writing space is only a guide for how much you should write so do not fret if you have small handwriting. Likewise, if you have larger writing don’t be afraid to make use of the additional space at the end of each section. In my science exam, I spent my remaining time further developing my answers and had to ask for extra paper which the supervisor was more than happy to hand out. It’s very unlikely that you will be marked down for writing 'too much' (as long as you keep your answer relevant to the question) so don't be afraid to show off what you know.
It's a marathon, not a sprint
Working hard throughout 3rd year will make your life so much easier when it comes to revision time. Study for your end-of-chapter tests and make your study notes as you go along. Put in the effort and you’ll smash your science exam.
Some final tips
for Junior Cycle Science.
Timing
The written examination is 2 hours long so you have plenty of time to complete the paper. I recommend spending 2 or 3 minutes skimming through the paper at the beginning to give you an idea of what questions are coming up. Then, work through the questions as quickly and as carefully as you can. Ideally, you should have 10-15 minutes left over to check over your answers. Remember, slow and steady wins the race.
Be prepared
Make sure you get organised the night before your exam by packing your pencil case with pens, pencils, a ruler, a calculator and some colouring pencils. Formulae and table booklets will be handed out at the beginning of the exam.
Answering questions
Answer all of the straightforward questions that you know the answer to first (tick the box questions, labelling diagrams, etc.) and leave the trickier ones for later on. If you dwell too long on one tricky question, it might mean that you neglect the others. After completing all the simpler questions, go back to the beginning and finish the ones you missed.
Leave no question blank
The only way you will get 0 marks for a question is if you leave it blank so make sure to attempt every question. Even if you haven’t a clue what the answer is, you might be awarded marks for giving it a go.
Use your additional time wisely
You only have one shot at your science exam so you may as well get the most out of those 120 minutes. Read over your questions and answers carefully and make sure that you haven’t missed any parts and have answered each question to the best of your ability. It’s also worth double-checking that you haven’t made any silly mistakes or spelling errors to maximise your marks.
Answer the question asked
Make sure that your answers are concise and always answer the question asked in the first sentence of your answer. It’s worth bringing in a marker to circle or underline the keywords in each question such as 'show', 'define' and 'justify'. Even if you feel like this doesn’t help you, underlining these words will show the examiner that you have focused on the question asked.
Answer length
The recommended writing space is only a guide for how much you should write so do not fret if you have small handwriting. Likewise, if you have larger writing don’t be afraid to make use of the additional space at the end of each section. In my science exam, I spent my remaining time further developing my answers and had to ask for extra paper which the supervisor was more than happy to hand out. It’s very unlikely that you will be marked down for writing 'too much' (as long as you keep your answer relevant to the question) so don't be afraid to show off what you know.
It's a marathon, not a sprint
Working hard throughout 3rd year will make your life so much easier when it comes to revision time. Study for your end-of-chapter tests and make your study notes as you go along. Put in the effort and you’ll smash your science exam.
Hope these help - happy studying!

Best of luck! You'll be great.
By Eva Cody
Eva got a distinction in her Junior cycle Science paper.